Easy Vanilla Wafer Recipe: Simple & Delicious Treats for Any Occasion
A Sweet Memory in Every Bite
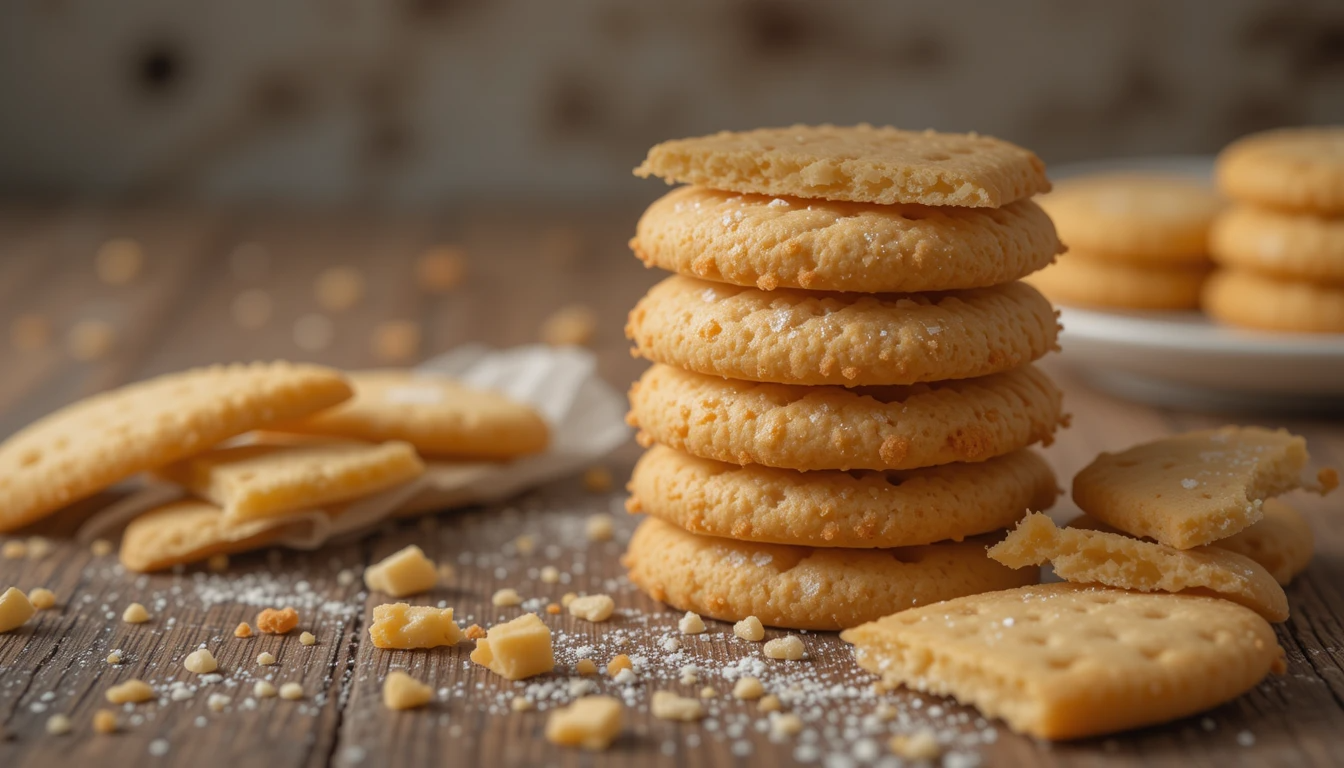
If you’ve ever enjoyed the delightful crunch of vanilla wafer cookies, you know just how comforting and delicious they can be. Whether you’re reminiscing about childhood snacks or discovering them for the first time, vanilla wafers have a way of bringing a smile to your face. But what if you could make them at home with ease? With this easy vanilla wafer recipe, you’ll be able to craft these irresistible treats in no time, filling your home with the mouthwatering aroma of freshly baked cookies.
This homemade vanilla wafer recipe is perfect for those who crave a simple, flavorful treat without the hassle. With minimal ingredients and a straightforward process, you’ll soon be enjoying homemade vanilla wafers that taste better than store-bought varieties. Whether you’re preparing a batch for a family gathering, adding them to a dessert table, or simply snacking on them with a cup of tea, these vanilla wafer cookies are guaranteed to become a favorite.
Table of Contents
Ingredients for the Perfect Vanilla Wafer Recipe
Simple Ingredients for a Flawless Recipe
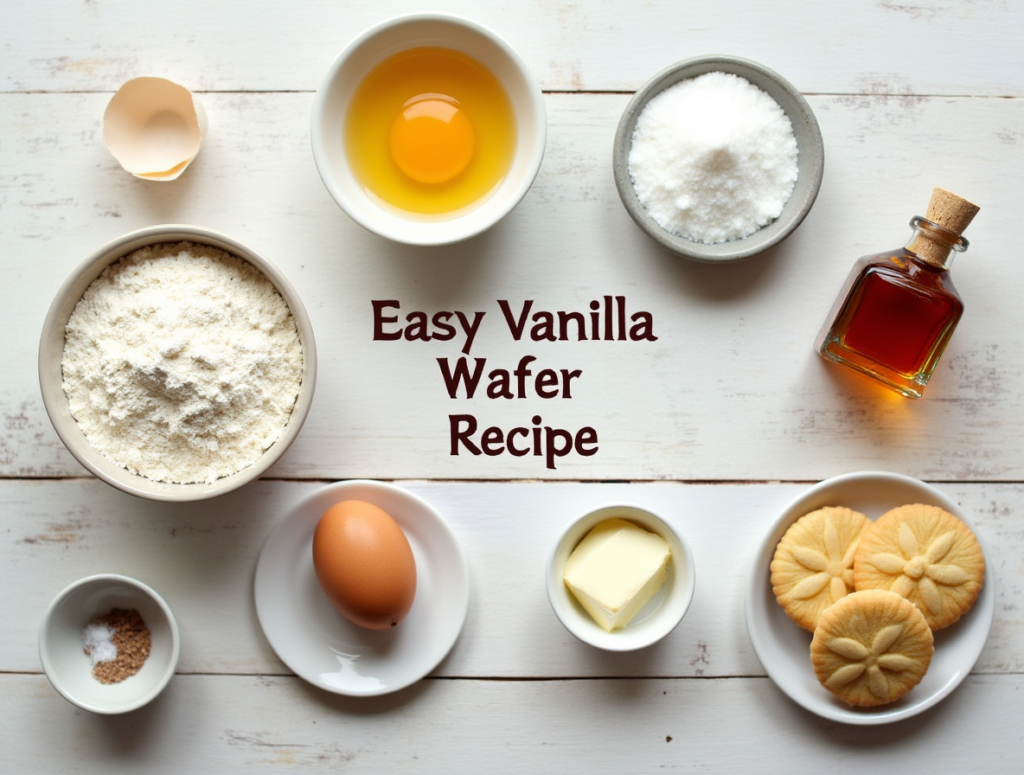
Creating vanilla wafers homemade requires just a handful of basic ingredients that you likely already have in your pantry. Here’s what you’ll need:
| Ingredient | Quantity |
| All-purpose flour | 2 cups |
| Sugar | 1/2 cup |
| Butter (softened) | 1/2 cup |
| Vanilla extract | 2 tsp |
| Egg | 1 large |
| Baking powder | 1 tsp |
| Salt | 1/4 tsp |
These ingredients are staples in many baking recipes, but when combined in just the right way, they create the perfect vanilla wafer cookie. You can easily adjust quantities based on your needs, but these proportions work wonderfully for a standard batch.
- All-purpose flour: The foundation for any cookie dough, providing structure and texture.
- Sugar: Adds sweetness to the wafers, balancing the richness of the butter.
- Butter: Softened butter ensures a smooth dough and contributes to the wafer’s buttery flavor.
- Vanilla extract: The star flavor of these cookies, imparting that warm, nostalgic vanilla taste.
- Egg: It helps hold the dough together while adding richness.
- Baking powder: Gives the cookies a slight rise and helps them bake up perfectly.
- Salt: A pinch of salt enhances all the flavors in the dough, rounding them out beautifully.
With these ingredients at hand, you’re ready to start baking the best vanilla wafers.
Step-by-Step Instructions for Making Vanilla Wafers
How to Make the Best Vanilla Wafers
Making vanilla wafer cookies at home is straightforward, and with these simple instructions, you’ll be able to whip up a batch in no time.
1. Preheat the Oven
Start by preheating your oven to 350°F (175°C). This ensures the oven reaches the right temperature when your cookies are ready to bake.
2. Mix the Wet Ingredients
In a large mixing bowl, cream together the softened butter and sugar until the mixture is smooth and light. You can do this with a hand mixer or a stand mixer. After mixing, add the egg and vanilla extract, then beat until well incorporated.The vanilla extract is key to bringing out that classic flavor in your homemade vanilla wafers, so don’t skip it.
3. Combine Dry Ingredients
In a different bowl, sift the flour, baking powder, and salt to combine them evenly. Sifting is important as it helps incorporate air into the dry ingredients, leading to a lighter cookie texture.
4. Blend Wet and Dry Ingredients
Gradually add the dry ingredients to the wet mixture, mixing until just combined. Handle the dough gently to maintain a soft texture. You want the dough to be soft, but not sticky.
5. Shape the Cookies
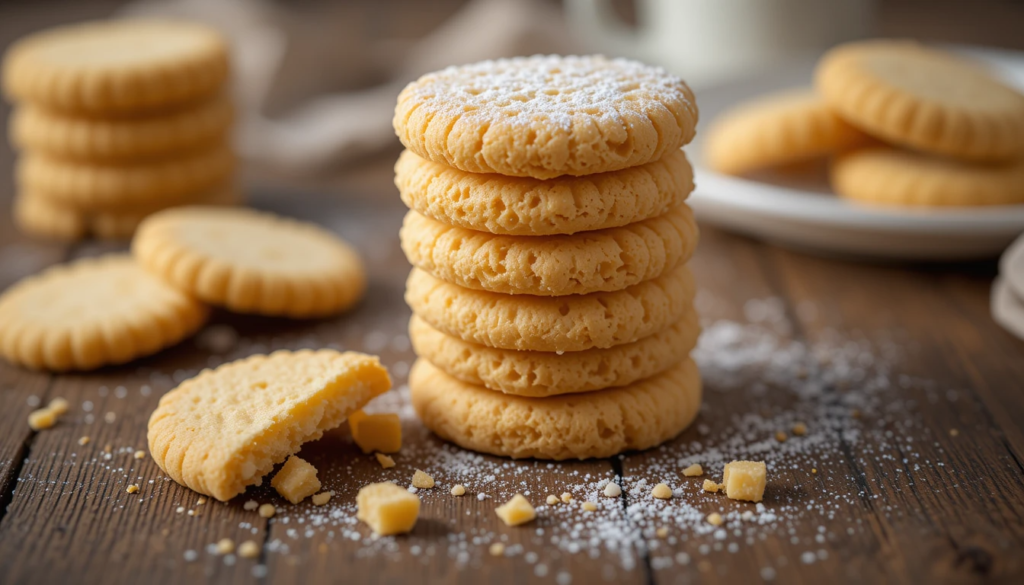
Scoop small portions of dough, rolling them into balls about the size of a walnut. Place each dough ball on a parchment-lined baking sheet and gently flatten them with your fingers or the back of a spoon. This will give them their classic round shape and thin, crispy texture once baked.
6. Bake the Wafers
Bake the cookies for about 10-12 minutes, or until they’re golden brown around the edges. Baking times can vary by oven, so monitor closely for best results. If you’re making thicker cookies, they might need an extra minute or two. Allow them to cool on a wire rack for even cooling.
Tips for the Best Vanilla Wafer Texture and Flavor
Secret Tips for Perfect Vanilla Wafers
Making the best vanilla wafers requires a little know-how. Here are some tips to elevate your baking game:
- Use softened butter: Softened butter, not melted, will help you achieve the ideal cookie texture. Melted butter can cause the dough to spread too much, leading to a thin wafer instead of a crisp, delicate one.
- Add cornstarch for extra crunch: If you’re looking for a crispier texture, try adding a tablespoon of cornstarch to the dough. This creates a slightly more delicate crumb.
- Chill the dough: If you prefer slightly thicker cookies, chilling the dough for 30 minutes before shaping will help it firm up and make it easier to handle.
- Experiment with vanilla extracts: Vanilla wafers are all about the vanilla flavor. Try using different varieties of vanilla extract—like Madagascar or Tahitian—for subtle flavor variations.
How to Serve and Enjoy Your Vanilla Wafers
Creative Ways to Enjoy Vanilla Wafers
Vanilla wafers are versatile cookies that can be used in many creative ways beyond just snacking on them. Here are some fun ideas:
- With Ice Cream: Crumble vanilla wafers over your favorite ice cream for added crunch. You can also use them as a topping for sundaes or make an ice cream sandwich.
- Layered Desserts: Use them to make layered desserts like a banana pudding. Simply alternate layers of vanilla wafers, sliced bananas, and whipped cream for a quick and indulgent treat.
- As a Crust: Crush the wafers and use them as a base for pies and cheesecakes. A vanilla wafer crust adds a buttery flavor that complements many creamy desserts.
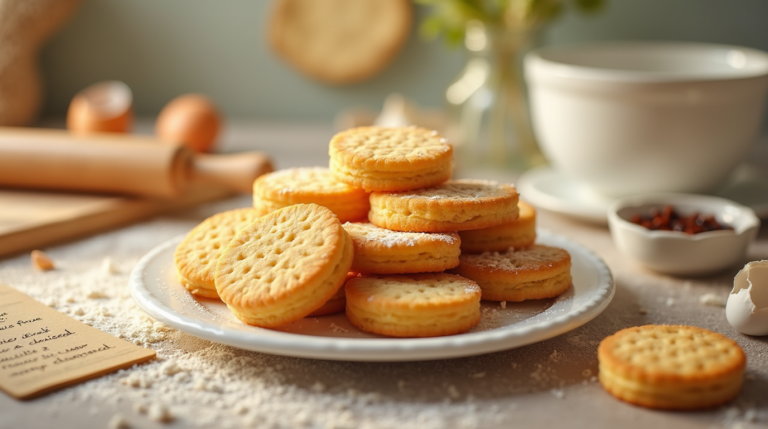
- Snack Time: Vanilla wafers are perfect for snacking on their own. Serve them alongside tea or coffee for a cozy treat any time of day.
FAQ: Answering Your Vanilla Wafer Questions
Frequently Asked Questions About Vanilla Wafers
- Q1: Can I make these wafers gluten-free?
- A1: Yes, you can! Substitute the all-purpose flour with a gluten-free flour blend. Just be sure to use one that’s designed for baking, and the result will be just as delicious.
- Q2: How long do these vanilla wafers stay fresh?
- A2: These vanilla wafer cookies stay fresh for up to a week when stored in an airtight container. You can also freeze them for up to two months if you want to save some for later.
- Q3: Can I freeze these vanilla wafers?
- A3: Absolutely! After baking, allow the cookies to cool completely. Then, place them in an airtight container or freezer bag and store them in the freezer. When you’re ready to enjoy them, simply thaw them at room temperature.
- Q4: Can I use heavy cream in this recipe?
- A4: While heavy cream isn’t required in this recipe, you can substitute it for milk if you prefer a richer texture. Just replace the milk with an equal amount of heavy cream to add a bit more decadence to your vanilla wafers.
A Simple Recipe for Sweet Moments
Homemade vanilla wafers are more than just a simple cookie—they’re a nostalgic treat that brings comfort and joy with every bite. With this easy vanilla wafer recipe, you can enjoy a batch of warm, buttery wafers in less than an hour, all from the comfort of your kitchen. Whether you’re preparing them for a special occasion or enjoying them as a snack, these vanilla wafer cookies will always be a hit.
So why not give this recipe a try today? Share these vanilla wafers with family and friends, or enjoy them solo as a well-deserved treat. And don’t forget—baking at home brings a sense of accomplishment and warmth to your day. You’ll be amazed at how easy it is to create these delicious, homemade cookies. Enjoy!
One Comment
Comments are closed.