The Best Homemade Nilla Wafer Recipe – Crispy, Buttery, and Irresistible!
Introduction: A Bite of Nostalgia
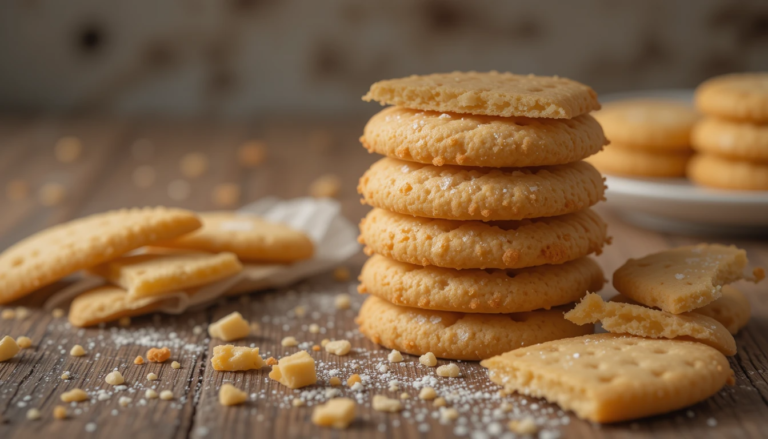
Have you ever bitten into a Homemade Nilla Wafer Recipe and felt an instant wave of nostalgia? Maybe it takes you back to childhood moments—snacking on Nilla Wafers straight from the box or savoring the way they softened in a warm banana pudding. These golden, crisp cookies have a timeless charm that brings comfort with every bite.
But what if you could make them even better—right in your own kitchen? Homemade Nilla Wafers aren’t just tastier than store-bought versions; they’re also free from artificial preservatives and packed with real vanilla flavor. Whether you’re baking for yourself, your family, or a special dessert, this homemade vanilla wafer recipe will be your new go-to.
Let’s dive into how you can make Homemade Nilla Wafer Recipe crisp on the outside, melt-in-your-mouth soft in the center, and bursting with that nostalgic vanilla taste.
Table of Contents
What Are Nilla Wafers?
Nilla Wafers are classic vanilla-flavored cookies known for their light texture and subtly sweet taste. They were originally introduced by Nabisco in 1898 and have since become a staple in American households.
What’s the Difference Between Nilla Wafers and Vanilla Wafers?
While the terms are often used interchangeably, Nilla Wafers is actually a brand name owned by Nabisco. Generic vanilla wafers refer to any vanilla-flavored crisp cookie, including store-brand versions. However, making them at home allows you to control the quality of ingredients and avoid unnecessary additives.
Homemade Nilla Wafer Recipe – The Perfect Vanilla Wafers
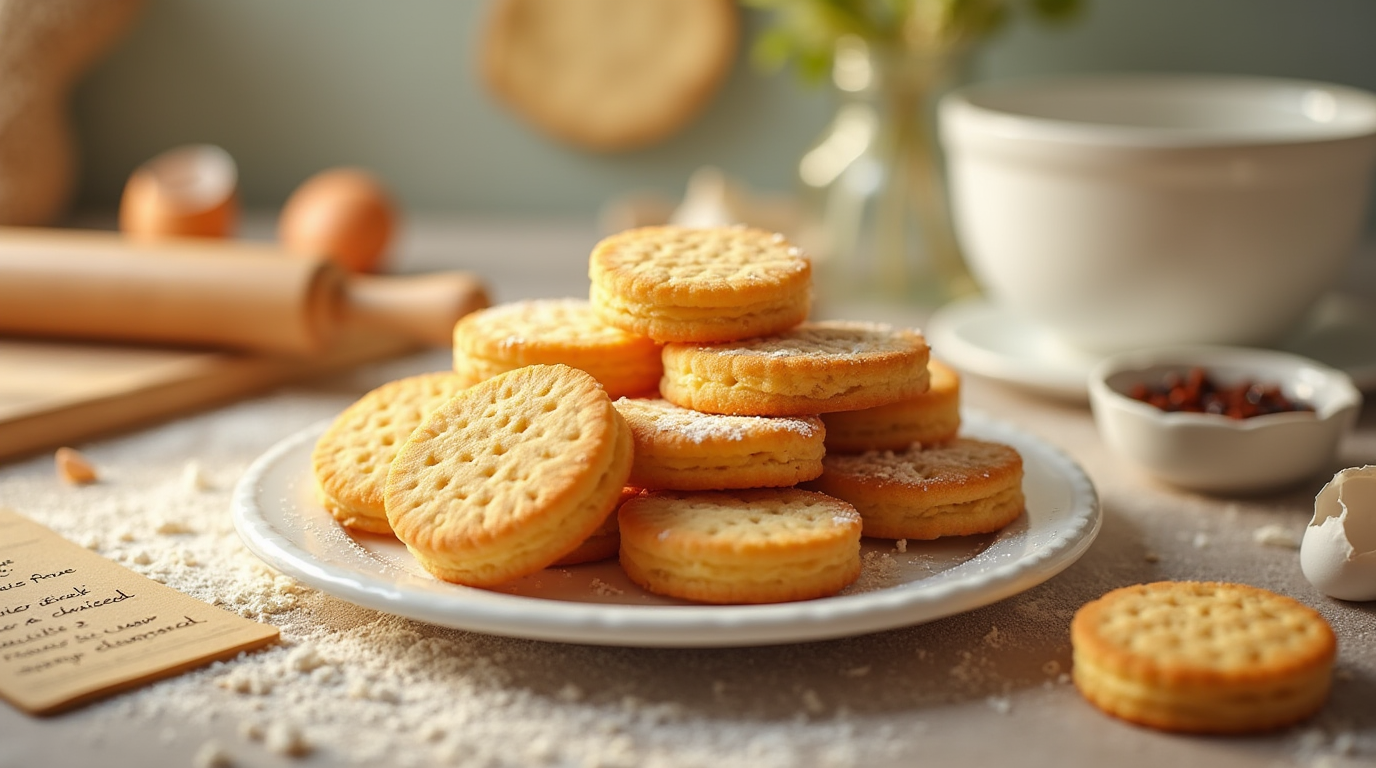
If you’re craving the real deal, making vanilla wafers homemade is the way to go. This recipe ensures a buttery, crisp texture with an authentic vanilla flavor—without the artificial aftertaste of store-bought varieties.
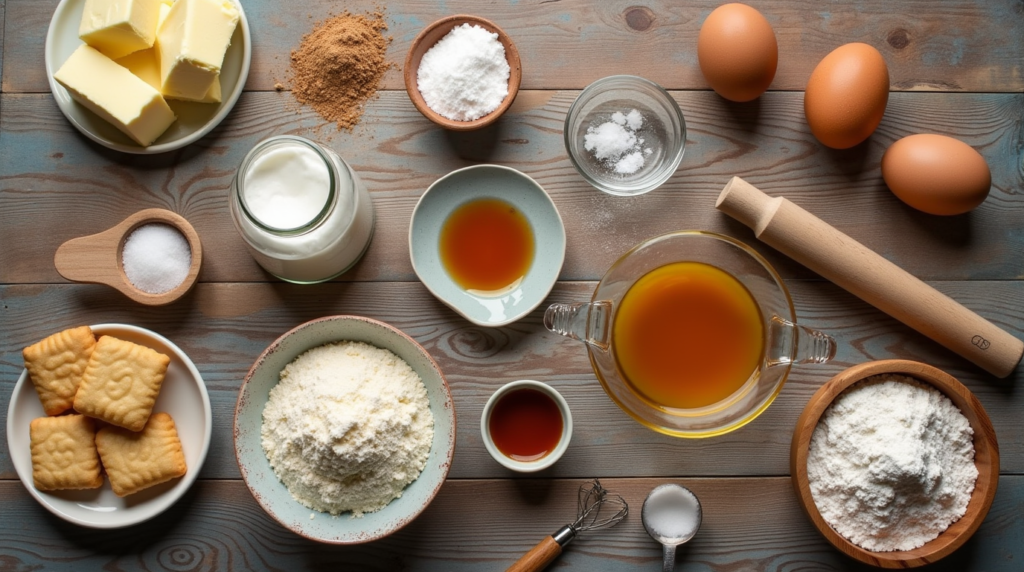
Ingredients for the Best Vanilla Wafer Cookies
| Ingredient | Amount | Purpose |
|---|---|---|
| Unsalted butter | ½ cup (softened) | Adds richness and structure |
| Granulated sugar | ¾ cup | Provides sweetness |
| Egg | 1 large | Binds the ingredients together |
| Vanilla extract | 1 tbsp | Delivers the signature flavor |
| Heavy cream | 2 tbsp | Enhances texture and moisture |
| All-purpose flour | 1 ¼ cups | Provides structure |
| Baking powder | ½ tsp | Helps cookies rise slightly |
| Salt | ¼ tsp | Balances sweetness |
Step-by-Step Guide to Making Vanilla Wafers Homemade
1. Cream the Butter and Sugar
In a large bowl, cream the softened butter and sugar together until the mixture becomes smooth, airy, and fluffy.This process, called creaming, helps create the perfect crispy-yet-soft texture.
2. Add the Wet Ingredients
Mix in the egg, vanilla extract, and heavy cream. The heavy cream works like a secret trick, giving your wafers an irresistibly smooth, melt-in-your-mouth texture.
3. Incorporate the Dry Ingredients
In another bowl, combine the flour, baking powder, and salt, and give them a good whisk to mix evenly. Gradually add this dry mixture to your wet ingredients, mixing until a soft dough forms.
4. Shape and Bake the Cookies
- Preheat your oven to 350°F (175°C).
- Line a baking sheet with parchment paper.
- Use a piping bag or a teaspoon to drop small rounds of dough onto the baking sheet.
- Pop it in the oven for 12 to 15 minutes, or until the edges are lightly golden brown.
Let them cool completely before enjoying—this helps achieve that perfect crisp texture!
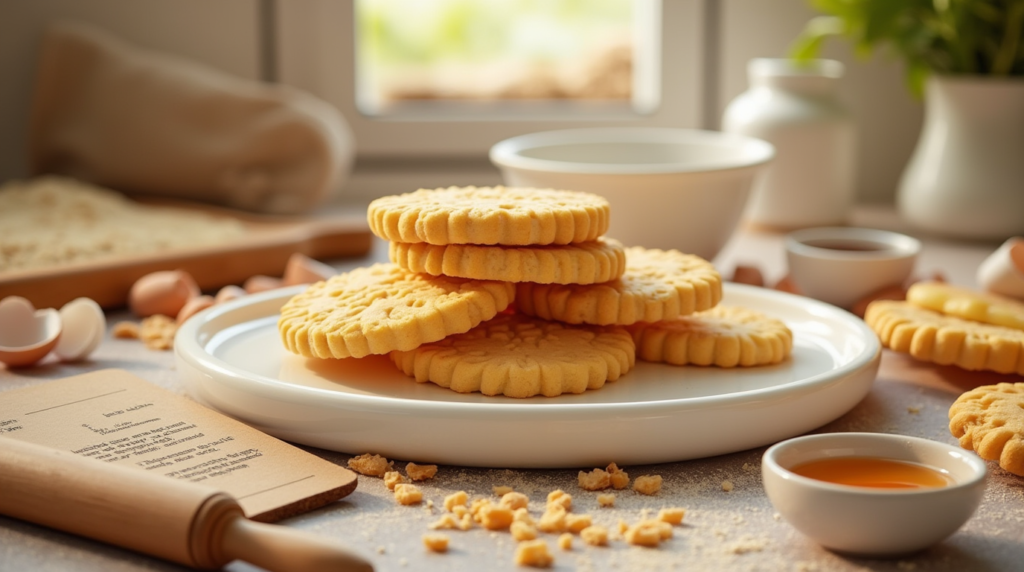
What Makes These Vanilla Wafers So Good?
The Secret Ingredients for the Best Flavor
- Pure vanilla extract – The key to rich, authentic flavor. Avoid artificial vanilla!
- Heavy cream – This small addition gives the cookies a smoother, more indulgent texture.
Tips for the Crispiest and Fluffiest Wafers
- Chill the dough for 30 minutes before baking for a better shape.
- Use parchment paper to prevent over-browning.
- Let the cookies cool completely to develop their crispness.
Frequently Asked Questions (FAQ) About Nilla Wafers
What Is the Ingredient in Nilla Wafers?
Store-bought Nilla Wafers contain sugar, enriched wheat flour, eggs, butter, vanilla extract, and leavening agents. However, they also include preservatives and artificial flavors, which you can skip by making them at home.
What Are the Ingredients in Favourite Day Vanilla Wafers?
Favourite Day (Target’s in-house brand) vanilla wafers typically contain wheat flour, sugar, palm oil, eggs, salt, baking powder, and artificial vanilla flavor.
What Are the Ingredients in Wafer Cookies?
Wafer cookies generally include flour, sugar, fat (butter or oil), baking powder, eggs, and flavorings like vanilla or chocolate.
Ways to Enjoy Your Homemade Vanilla Wafer Cookies
Now that you’ve baked a fresh batch, how should you enjoy them? Here are some creative ideas:
1. Classic Banana Pudding
Layer your homemade vanilla wafers with vanilla pudding and fresh bananas for the ultimate Southern dessert.
2. Ice Cream Sandwiches
Place a scoop of vanilla or chocolate ice cream between two wafers for a delightful treat.
3. Crushed Topping
Use crushed wafers as a topping for cheesecakes, yogurts, or milkshakes.
4. Coffee Companion
These crispy cookies pair perfectly with a cup of coffee or tea.
Conclusion: Enjoy Your Homemade Vanilla Wafers!
Now that you know how to make the best homemade vanilla wafer recipe, it’s time to put your skills to the test! Baking these cookies at home gives you complete control over the ingredients, ensuring a fresher and more flavorful result.
Why settle for store-bought when you can enjoy golden, buttery, and perfectly crisp wafers straight from your oven? Try this recipe today and let us know in the comments how they turned out.
If you loved this recipe, don’t forget to share it with friends and family—because nothing brings people together like homemade cookies! 🍪💛
Tell Us What You Think!
So Easy and Delicious!
As a die-hard nilla wafer lover, I’m always on the hunt for the perfect Nilla Wafer. These homemade ones blew me away! They have such a delicate vanilla flavor, and they hold up beautifully in the pudding. No more mushy wafers! The recipe was surprisingly easy to follow, and the results were incredible. Thank you for sharing this gem!